Blog Articles
Myofascial Release with a Roller: How to Work with Fascia Safely
 Anatoly Yasinsky · physicist, qigong instructor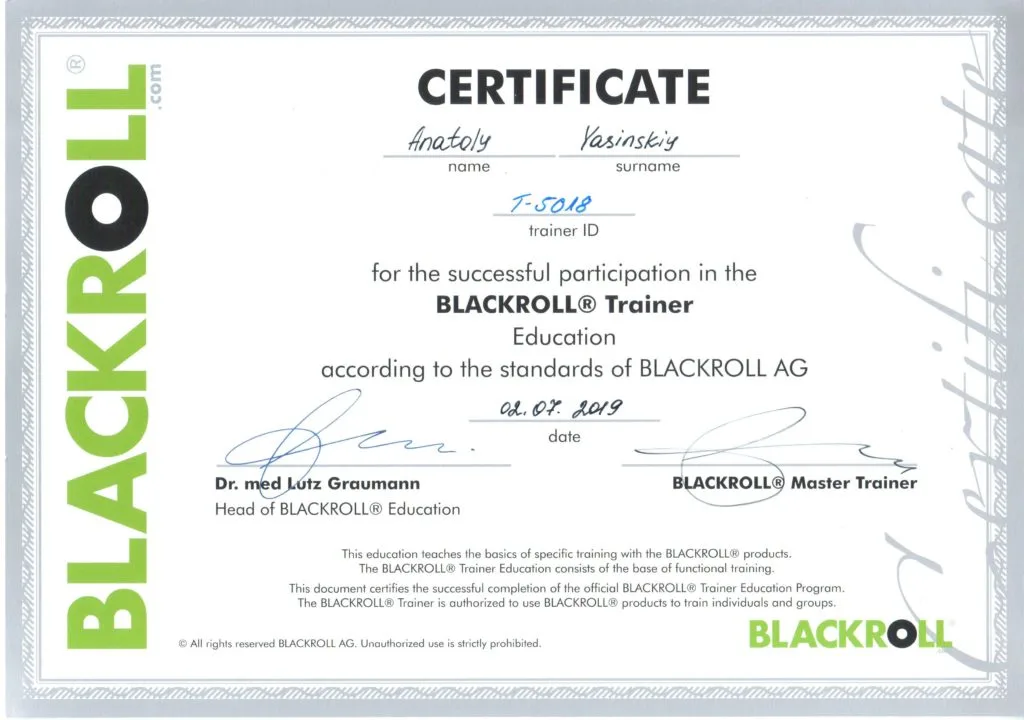
Eight hours at a laptop, an hour behind the wheel, then the couch. After a couple of years of that, plenty of people end up with a nagging neck, a rock-hard lower back and knees that crackle on the stairs. People who train hard and often have a similar story: lots of load, not enough recovery. Both groups usually get the same advice: buy a foam roller. It’s sound advice, but so much marketing has piled up around it that it’s worth separating what works from the fairy tales.
In 2019 I completed the BLACKROLL Trainer Education and was certified to teach with rollers and massage balls. What follows is what I took away from the course and tested on myself, plus what research since then has confirmed or called into question. You can read more about my background on the About the Author page.
What fascia is and why it only recently got attention
Fascia is connective tissue: collagen and elastin fibers embedded in a viscous, water-rich ground substance. It wraps every muscle, every bundle of fibers inside a muscle, and every vessel, nerve and organ. Cut an orange open, squeeze out the juice, and you’re left with the white membranes that hold the whole fruit together. Fascia holds the shape of the body in much the same way. That’s why specialists increasingly talk not about muscles and fascia separately but about a single myofascial system.
Anatomists have always known about connective tissue, but for centuries they studied it in cadavers, where it quickly loses its elasticity and glide. Serious research into how fascia behaves in a living, moving body only took off around the early 2000s. The push came from Thomas Myers’s book “Anatomy Trains” (2001) and from Robert Schleip’s group at Ulm University in Germany. Myers, by the way, studied with Ida Rolf, the founder of Structural Integration, so the idea of working with the body through its connective tissue is older than it looks.
Here’s what we can say with reasonable confidence today:
- fascia transmits force between muscles and helps the body work like a spring when you walk, run and jump;
- the layers of fascia need to glide over one another, and long periods of stillness make that glide worse;
- fascia is densely innervated, it contributes to your sense of body position (proprioception) and can itself be a source of pain, for example in the lower back.
You’ll see the claim that “fascia has ten times more receptors than muscle” in lots of articles. I’d treat that number as an estimate rather than a precise measurement. For practical purposes it’s enough to know that fascia is sensitive and in constant conversation with the nervous system.
What a roller actually does
This is where it gets interesting, and where I’ll disappoint fans of tidy diagrams. A roller doesn’t “smooth out adhesions,” and it doesn’t stretch dense fascia like dough. To mechanically deform something like the fascia lata on the outside of the thigh, you’d need forces far beyond what your body weight on a roller can produce. Recent research points to a more modest and more honest picture:
- after a few minutes of rolling, joint range of motion increases, and unlike a long static stretch, it doesn’t cost you strength;
- perceived muscle soreness after a hard workout goes down;
- the main mechanism is most likely neural: receptor sensitivity changes, protective muscle tone drops, and your tolerance to stretch goes up;
- there’s also a sponge effect: pressure squeezes fluid out of the tissue, and when you release, blood and lymph flow back in (a hypothesis, but one that fits the sensations well).
The practical takeaway: the effect of a single session is temporary. On the course we were told that within a day very little of the change remains, and what does accumulate lives mainly in the nervous system, in how your brain regulates muscle tone. The connective tissue itself remodels slowly, over months of regular work. So a roller is useful as a habit, not as a one-time fix.
Anatomy Trains: it hurts here, but the cause is over there
Myers described lines along which muscles and fascia link up into continuous chains: the Superficial Back Line (from the sole of the foot, through the calves, hamstrings and back, up to the brow ridge), the Superficial Front Line, the Lateral Line, the Spiral Line and others. A 2016 systematic review found solid anatomical evidence for the back line and somewhat weaker evidence for the lateral and spiral lines. The model isn’t perfect, but it’s very handy in practice.
Here’s a typical desk-worker example. Long hours of sitting shorten the front chain: the hip flexors, the rectus abdominis, the chest muscles. The back has to pull constantly to keep you balanced, and eventually it starts to hurt. So people roll their lower back, when what they really need is to release the front of the thighs, the iliopsoas area, the diaphragm under the ribs, the pecs and the sternocleidomastoid on the side of the neck. If your lower back keeps flaring up, that’s where I’d start.
One more thing worth knowing. MRI scans very often show herniated or bulging discs in people whose backs don’t hurt at all. Most lower back pain has to do with muscle tone, posture and movement habits, not with irreversible changes in the spine. That’s good news: functional problems respond to movement.
Simple tests before you start
Before rolling, it helps to know which line is tight. These are the tests from the course that I still use myself:
- Back line: bend forward with straight legs and note where your fingertips reach.
- Lateral line: stand with your back to a wall and side-bend, sliding your hand down your thigh. Mark how far your fingers go and compare sides. After working this line, my difference was almost 10 centimeters (about 4 inches).
- Thomas test: lie on your back, pull one knee to your chest and keep the other leg straight. If the straight thigh lifts off the floor, your hip flexors and the front of your thigh are short.
- Ankle: stand facing a wall with your toes 10 cm (about 4 inches) away and drive your knee toward the wall without lifting your heel.
- Wall angel: press your back against a wall, bend your arms to 90 degrees and try to get your elbows and the backs of your hands flat against the wall. This shows how mobile your upper back and shoulders are.
- Balance: stand on one leg. If 15 seconds is easy, close your eyes or tilt your head back. Your sense of balance relies heavily on receptors in fascia, so balance training is fascia training too.
Repeat the tests after a session. The difference often shows up right away, and that’s the best motivation to keep going.
How to use a roller: techniques and ground rules
The basic rules are simple. The muscle on the roller has to be relaxed, otherwise you’re pressing on a tense shield and getting nothing. Keep the discomfort at no more than 7 out of 10: if you’re gritting your teeth and holding your breath, your body only guards harder. Breathe calmly, preferably through your nose. Move slowly, roughly half an inch to an inch per second.
The BLACKROLL course covered eight techniques. I’ve grouped them the way I actually use them:
- Rolling along the fibers. A gentle entry, warming up and activating the tissue. I start every area this way.
- Rolling across the fibers. More intense, good for old knots and chronic trouble spots. The tissue may feel a bit sore for a day or two afterward, which is normal, but never do this on a fresh injury.
- Small circles over a limited area boost local blood flow.
- Static pressure. Find a tender spot, hold for 15 to 30 seconds until the sensation changes and dulls, then release. This is the sponge effect in action.
- Pressure plus stretch. For example, the roller under the front of your thigh while you slowly bend your knee. It ends up feeling like yoga on a roller.
- Pressure plus twist. Pin the tissue with a ball and rotate slightly. It works well for scar mobility, but only on fully healed scars and with your doctor’s approval.
- Compression and mobilization. Hold the pressure and move the joint above or below that spot.
- Vibration. Vibrating rollers tend to relax tissue at lower frequencies and activate muscles at higher ones. Nice to have, not essential.
How long: 30 seconds to 2 minutes per area, 10 to 15 minutes for a full session. Before training, keep it shorter and quicker, as part of your warm-up. After training or in the evening, you can go slower and longer. I especially recommend rolling your foot on a small ball: from the heel to the toes and around the ankle, pausing on the tender spots. The foot is where the back line begins, and after this your forward bend often improves before your eyes.
Common mistakes
- Rolling too fast, back and forth like a rolling pin. Your nervous system doesn’t have time to respond.
- Pushing through intense pain. Bruises after rolling mean you overdid it.
- Parking on one spot for several minutes.
- Rolling a big roller directly over the lumbar vertebrae. For the lower back, it’s better to work through the glutes, the front line and the upper back.
- Rolling a tensed muscle, for example working your calf while standing on your toes.
- Expecting one session to fix a problem you’ve had for years.
- Using the roller instead of movement. Rolling opens a window of mobility, and only exercise can lock it in.
A word about water. The course put a lot of emphasis on fascia needing water and recommended drinking plain water after training. Drinking water is sensible, of course. But the idea that half an hour of walking helps water “reach your fascia” is, in my view, an image rather than an established fact.
Contraindications and areas to avoid
Self-massage with a roller isn’t treatment, and there are situations where it can do harm. Don’t roll until you’ve talked to a doctor if you have:
- a fresh injury, sprain, bruise or hematoma (the first few days);
- deep vein thrombosis or a suspicion of it, or pronounced varicose veins in the area;
- anticoagulant medication or a bleeding disorder;
- osteoporosis, a recent fracture or surgery;
- acute inflammation, a fever, or damaged or infected skin;
- cancer;
- pregnancy (especially work on the legs and abdomen);
- numbness, tingling or shooting pain under pressure, which is a sign you’re pressing on a nerve.
Whatever your situation, don’t roll over bones and joints, the front and sides of the neck, the back of the knee, the groin and upper inner thigh, where large vessels and nerves run close to the surface, or the kidney area.
Rolling, yoga and qigong
For me, a roller isn’t a separate system but a way into movement. Roll out your feet and the backs of your legs, and forward bends in yoga come more easily. Release your chest and front line, and in qigong stances it’s easier to lengthen your spine without clenching your lower back. The biggest lesson of the course for me was that the body needs variety: we have more than six hundred muscles and hundreds of joints, and any repetitive load, whether it’s an office chair or only cycling, uses a small fraction of them. Yoga, qigong, swimming, walking, mountains: the more variety, the better. And don’t skip the cool-down after hard training.
If you’re in Burgas, join my morning qigong classes and ask your questions about self-massage in person. And finally, a great documentary about fascia (in Russian):
Audio & subtitles: EN · BG · RU (⚙ in the player)
I cover how to align your spine, build good posture and set up a basic practice, so you need the roller less often, in detail in my book “Yoga vs Qigong: Basic Techniques”.
More from the blog
All blog posts →


The foundations of yoga and qigong in six practices: 235 pages, over 200 photos and video lessons via QR codes. In English, Bulgarian and Russian.