Relaxation Meditation: How to Let Go of Tension While Keeping Your Back Straight
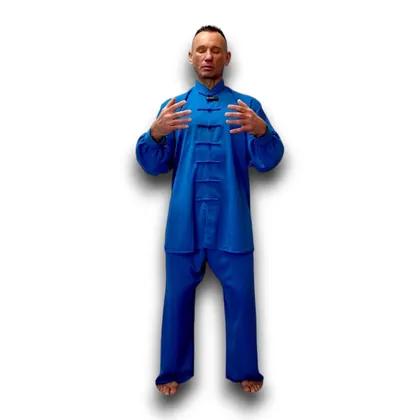
The relaxation meditation I teach has no mantras, no chakra visualisations and no waiting for special experiences. The task is different and very down to earth: sit with a vertical spine, breathe quietly and let go of tension throughout the body step by step, without falling asleep. This page presents the technique from the “Meditation practice” chapter of my book “Yoga vs Qigong: Basic Techniques”: the posture, the breath, relaxing “down the stairs”, a body scan meditation from the top down, and coming out of meditation. On this page there is a video lesson you can practise with right now.
Audio & subtitles: EN · BG · RU (⚙ in the player)
We learn not meditation, but how to prepare for it
My meditation teacher in India used to say that you cannot learn to meditate. You can only prepare, and when the body is ready, meditation happens by itself, and you recognise it at once. He compared it to launching a rocket: months of calculations, assembly and training, while the launch itself takes minutes. Nobody tosses a half-built rocket into the air to see whether it will fly.
So do not expect miracles from your first sessions. Your job at the start is modest: learn to sit still for 10 to 15 minutes and stay relaxed while you do it. Everything else grows out of that.
Why sitting and not lying down
Relaxing lying down is easier, but it is far too easy to fall asleep. That kind of relaxation is useful too, and in yoga it is called shavasana. Meditation, though, has a different task: learning to release tension while awake and upright.
Being upright keeps you from falling asleep. The brain constantly monitors your balance and corrects it with small movements of the muscles around the spine, like a TV tower that stays up thanks to the constant work of its guy wires. From the outside you are still, but inside there are microscopic oscillations. In this position the deep muscles do the work while the large surface muscles can rest, and that is what creates the particular state of being calm and clear at the same time.
Step 1. The vertical posture
The main secret of meditation lies in sitting correctly. At first, holding the vertical will take a lot of effort, and that is normal. With daily practice, even five to ten minutes at a time, the body gets used to it quickly.
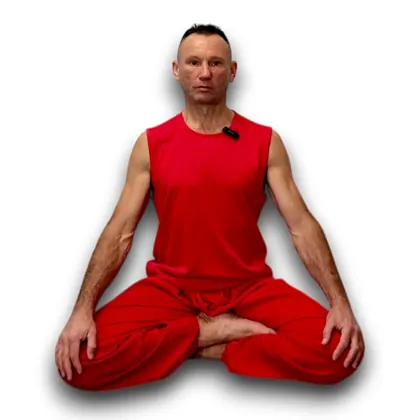
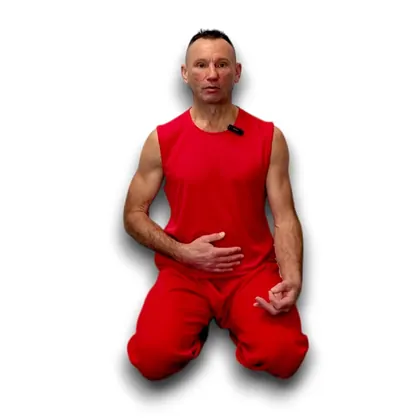
Any stable posture with support under the pelvis will do: vajrasana, sukhasana, siddhasana. How to choose and build it is covered in detail on the page How to sit correctly. In short:
- the pelvis is slightly tucked, the lower back is straight;
- the upper back is straight, the shoulders are down, the shoulder blades are slightly drawn together;
- the chin is a little down, the back of the head moves back as if there were a vertical wall behind you;
- the crown reaches upwards, the eyes are gently closed.
If the posture becomes uncomfortable and instead of relaxing you are fighting your body, change it or adjust your cushion. That is not a mistake, it is part of the practice.
Step 2. Quiet breathing
In meditation you no longer train the breath: you use what you have built up in pranayama. Breathe with the belly with a light ujjayi, but much more quietly than in a pranayama session. A useful guide: you can hear the soft rustle of your inhale and exhale, but the person next to you cannot.
Keep the amplitude small and the duration, especially of the exhale, as long as possible. There is one condition: no strain. If you start to feel short of air, or narrowing the throat tenses your whole body, go back to a comfortable rhythm.
Imagine you have spent a long time training to run over different distances, and now you have slowed to a walk and are trying to walk as quietly and softly as you can. That is roughly how breathing in meditation relates to pranayama.
For the first ten breaths, simply observe yourself.
Step 3. Relaxing “down the stairs”
Now bring your attention to your eyes. We tense them almost all the time without noticing, and once the eyes let go, everything else starts to let go too.
Imagine a staircase you are walking down very slowly. The inhale is a landing: the tension does not increase, you simply hold the level you have reached. The exhale is a step down: the relaxation gets deeper. Inhale, another landing. Exhale, one more step.
Do this for about five breaths, going down with each exhale. The muscles around the eyes and the bridge of the nose seem to melt slowly and flow down, like wax on a candle.
Step 4. Scanning the body from the top down
In the same way, step by step down the stairs, move your attention through the whole body. Silently name each area, stay with it for a few breaths and move on to the next. The order is always from the top down.
The head. Cheeks, cheekbones, jaw muscles, tongue, the area around the mouth, the chin. Then the temples, forehead, crown, back of the head, the areas above the eyebrows and behind the ears, the tip of the nose.
The neck. The throat, the sides of the neck, the muscles under the back of the skull. Rock your head forward and back very slightly and find the position where it does not drop but seems to float on water.
Shoulders and arms. With each exhale the shoulders grow heavier. There is no reason to hold them up, it is easier to give in to gravity. The arms grow warm, the hands press down on the thighs, you can feel the pulse in your fingers. You can imagine heavy chain mail on your shoulders that you yield to with every exhale.
The chest. The area under the collarbones, the chest muscles, the armpits, the upper shoulder blades. On the inhale the ribcage widens a little to the sides and comes back by itself.
The middle of the body. The solar plexus, the ribs, the space between the shoulder blades.
Belly and lower back. Do not push the belly out or pull it in, just watch it pulse in the rhythm of the breath. Notice that the whole belt around the waist moves, not only the front wall.
The pelvis. The lower belly, the pelvic floor muscles. Warmth in the hip joints, heavy buttocks and thighs. Where the body touches the support, the contact area seems to grow and the posture becomes more stable.
The legs. Knees, shins, calves, feet, toes. Warmth and heaviness reach the very tips.
In total this takes 40 to 50 breaths. If some area will not let go, stay with it longer, and at the end come back to the places that have not fully relaxed.
Step 5. The breath slows down by itself
By the end of the scan you will notice that you are breathing more slowly and quietly. There is no need to deepen the breath on purpose. A relaxed body needs less oxygen, and the breath adjusts by itself. Keep the soft rustle of ujjayi, especially on the exhale: the sound helps you stay relaxed.
Step 6. Coming out
Do not jump up. Take a few slightly deeper breaths, move your fingers, open your eyes and sit a little longer. Then you can get up.
How much time it takes
The skill takes shape over about ten sessions of 20 to 30 minutes. By the third or fourth, the first clear sensations appear. By the tenth, the body will have learned to sit economically, and the breath will be even and long. That experience is enough to keep building your practice.
When meditation starts to feel pleasant, and sooner or later it will, do not overdo the sitting. Meditation is rest, yin. It needs its opposite, yang: movement, sport, physical exercise. The energy you save has to be spent, otherwise the body will not renew it.
What happens in the body
With age, chronic stress and lack of movement, the balance of the autonomic nervous system shifts towards the sympathetic branch, which is responsible for mobilisation. One of the first consequences of this shift is high blood pressure, and from there the circle closes. Slow, quiet breathing and deep muscle relaxation shift the balance back towards the parasympathetic branch, which is responsible for recovery. That is why the older we get, the more useful these practices become.
There is also a simple mechanical effect. When most of the muscles are relaxed, the brain does not need to control them constantly, and the nervous system switches to an economy mode, like a computer after you close the programs you do not need.
A separate word about headaches. Most headaches are linked to tension in the muscles of the head and neck, so relaxing the head step by step down the stairs often eases them noticeably. For a severe, frequent or unusual headache, see a doctor.
Common mistakes
Meditating lying down You will fall asleep, and the skill of relaxing upright will never develop.
Putting up with an uncomfortable posture If your knees or back hurt, you are training struggle, not relaxation. Change the posture or the cushion.
Breathing loudly, as in pranayama In meditation the breath is fine, almost silent.
Rushing through the body Each area gets a few breaths. Running quickly down the list does not relax anything.
Waiting for special sensations The goal is not visions or energy but a calm, relaxed body and a clear head. If nothing special happened, the practice is still working.
Replacing movement with meditation Even the most pleasant meditation does not replace physical activity.
When to be careful
With severe depression, psychotic states, post-traumatic stress disorder or panic attacks, start by seeing a doctor or psychotherapist: meditating on your own can make the symptoms worse in these cases. If deep relaxation makes you dizzy or anxious, open your eyes, breathe a little more deeply and end the practice.
Questions and answers
I start my morning with breathing practices and a short body scan meditation of 10 to 15 minutes. It is a gentle transition from sleep to wakefulness, and it also shows me where tightness remains and what is worth working on that day. Evening meditation is good too, but sitting up, not in bed.
Yes, if sitting on the floor is still difficult. Sit on the edge of a firm chair, feet on the floor, back not touching the backrest, and build the vertical the same way as on the mat.
Bring your attention back to the part of the body where you stopped and keep going down the stairs. The thoughts will leave on their own once your attention has something to do.
Do not rush to write them down. If the idea is worthwhile, it will come back more than once.
Yes. Qigong has a standing meditation for this, Zhan Zhuang. The task is the same, only the legs work harder and you do not need to sit on the floor.
The practice in the book
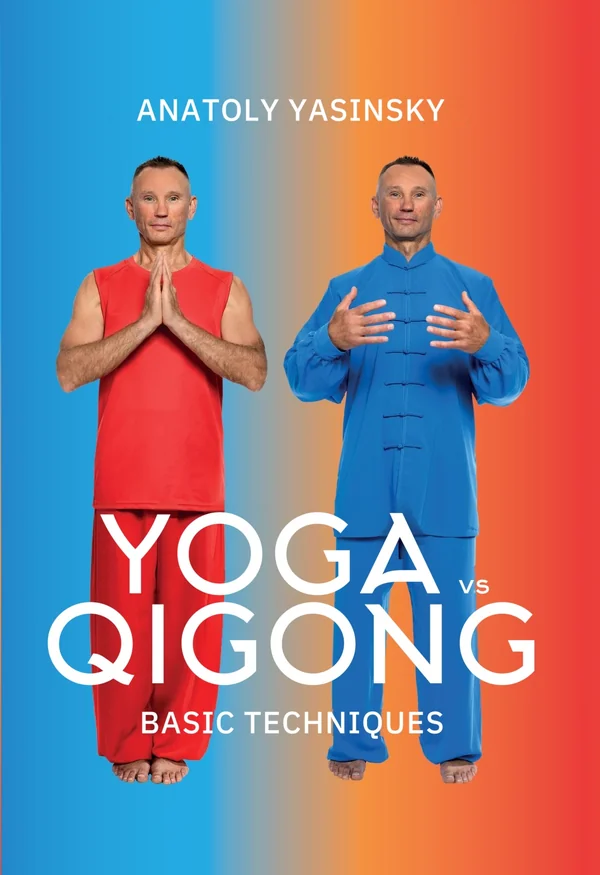
Meditation completes the practical part of “Yoga vs Qigong: Basic Techniques” and brings all the previous chapters together: the sitting posture gives you the vertical, pranayama gives you the breath, and Zhan Zhuang teaches you to relax standing up. The theoretical part explains how breathing, posture and the nervous system are connected. The book is available in English, Bulgarian and Russian, as a PDF e-book and as an audiobook.
More practices from the book