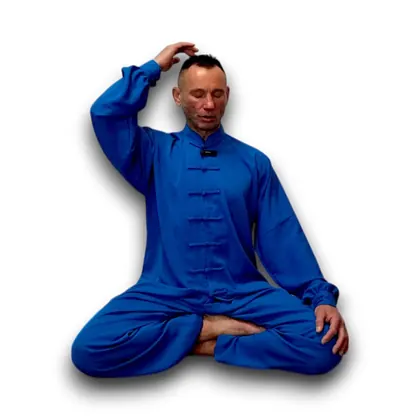
How to Sit Correctly: Asanas for Meditation and Pranayama
Before learning to breathe correctly or to meditate, you need to learn simply to sit: on the floor, with a straight back, calmly and without pain. It sounds modest, but almost everything else rests on it. This page explains how to sit for meditation: how to choose a pose that suits your body, what to sit on, how to build the spine from the bottom up, and which mistakes stop you from sitting for even fifteen minutes. It is the first practical chapter of my book “Yoga vs Qigong: Basic Techniques”, and here is a video lesson to go with it.
Audio & subtitles: EN · BG · RU (⚙ in the player)
One line from Patanjali
“Sthira sukham asanam”
A posture should be steady and comfortable. Patanjali’s Yoga Sutras, 2.46
Patanjali’s Yoga Sutras, the key text of classical yoga, say very little about asana: it is a steady and comfortable posture. That is all. Not a word about flexibility, stretching or complicated twists. Originally, an asana was not an exercise but a position of the body in which you could breathe and concentrate for a long time without being distracted by the body.
This definition gives you a simple test. A good posture is one you forget about after a couple of minutes. If your knees ache, your lower back begs for support and your thoughts keep circling around a numb leg, it is not an asana yet, however beautiful it looks.
Why learn to sit on the floor
Count how many hours a day you spend sitting: work, meals, the car, public transport, an evening in front of a screen. For someone living in a big city it comes to 12 to 15 hours. We spend almost all of that time on chairs, soft armchairs and sofas that let us stop thinking about posture altogether: the back sinks into an arc, the head drifts forward, and the spine and joints spend hours in a poor position.
Good sitting posture works the other way round. The vertebrae rest one above the other in balance and do not wear out under extra load. The head does not pull the neck forward. The belly and chest are not squeezed, so breathing gets easier. The muscles around the spine work a little at a time and take turns, instead of some being overloaded while others switch off.
For practice, the book sets a concrete goal: learn to keep the spine straight and relaxed for at least 15 to 20 minutes in a row. Once you can do that, pranayama and meditation become many times easier.
Stability: the rule of three points
Every good sitting pose, and with it the whole question of how to sit for meditation, rests on one principle from geometry. The most stable three-dimensional figure is the tetrahedron, a pyramid with three points of support. A three-legged stool does not wobble on an uneven floor, while a four-legged one can.
In a sitting pose, the three points of support are the sitting bones and the two knees. When the knees rest on the floor and the pelvis is slightly higher than them, the centre of gravity falls inside the triangle, and the body does not have to spend effort on keeping its balance. If even one knee hangs in the air, the pyramid falls apart and the back starts to make up for it with tension.
Hence the main conclusion: all three classic poses can be made comfortable if you choose the right support under the pelvis.
Three poses: which one suits your body
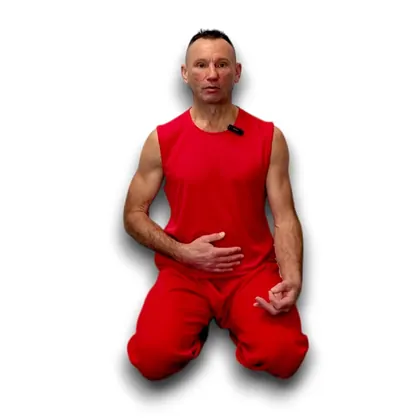
Vajrasana: sitting on your knees
You sit on your knees with the heels under the buttocks and the ankles extended. In Japan this way of sitting is called seiza. It is my main pose: I came to yoga from wushu, and in the Eastern martial arts this is exactly how you sit before and after training. Vajrasana is the pose in which the back straightens most easily.
Suits you if: your knees are healthy and your ankles are flexible enough. There is a variant with the knees slightly apart. It is more stable than the classic version because the base of the triangle is wider.
If it is hard: put one or two yoga blocks between your heels and sit on them. The load on your knees and ankles eases at once. I picked up this trick from teachers in India, and for beginners it works better than any amount of persuasion to “just put up with it”.
Sukhasana: cross-legged
The most familiar pose, sitting cross-legged or “Turkish style”. The Sanskrit name means “comfortable pose”, but the comfort here is deceptive. The knees do not touch the floor, there is no support, the pelvis rolls back, the back rounds and the chest caves in. You can only straighten up by effort, and effort goes against the very idea of an asana.
Suits you if: you put a support under your pelvis that is high enough for your knees to come down to the floor. If they still hang, put blocks or a rolled-up towel under the knees themselves.
Siddhasana: the perfect pose
One heel is drawn in towards the perineum, the other leg lies in front of it, and both knees rest on the floor. This, rather than lotus, is how experienced practitioners usually sit, with a low mat under the sitting bones. Siddhasana does not become comfortable straight away, but once the hip joints get used to it, it is very stable.
Suits you if: your hip joints are mobile enough. The prop should be low: 2 to 3 centimetres (about an inch) is often enough.
What about lotus? Padmasana and gomukhasana are sitting asanas too, and I practise them as well. But there is no need to start with them: for pranayama and meditation, the three poses above are more than enough.
What to sit on: the prop matters more than stretching
The right support makes a pose comfortable in a single day, while stretching would take months to do the same. A prop has only one requirement: it must hold its height. An ordinary pillow will not do. It squashes down, and five minutes later you are sitting almost on the floor.
What works: a yoga block (or two), a firm meditation cushion filled with buckwheat hulls or grain, or a camping foam mat rolled up and secured with a strap so you do not have to roll it again every time. At a pinch, even a pair of folded slippers will do.
How to find the height: start with 10 centimetres (about 4 inches) under the sitting bones and go lower for as long as your knees still rest easily on the floor and your lower back does not arch. In vajrasana the height is set by your knees and ankles, in siddhasana by your hip joints. Over time the prop gets lower, and sometimes you stop needing it altogether.
Aligning the spine
Once you have your support, build the pose like a house, starting from the foundation.
- Pelvis. Tuck it slightly: the lower part moves a little forward, the upper part a little back. The pelvic floor muscles are lightly drawn up, and the belly is pulled in just a little.
- Lower back. The movement of the pelvis straightens and lengthens it by itself. The curve in the lower back should get smaller, but not disappear completely.
- Upper back. Gently move it forward and up without pushing the chest out. If you push the chest out, the lower back arches again.
- Shoulders. Draw them back slightly and let them sink under their own weight. It helps to imagine that your arms are heavy.
- Neck and head. Chin slightly in, crown reaching upwards. The tongue touches the palate.
Then close your eyes and slowly move your attention from the bottom up: perineum, tailbone, lower back, belly, shoulder blades, breastbone, back of the head, neck, chin, nose, eyes, crown. At each point, let go of a little unnecessary tension.
Checking the vertical
Sometimes the back seems straight, yet sitting is still hard work. A common reason is a tilt. Imagine a log stood on end but not quite upright: to hold it at an angle you have to keep pushing from one side, and the greater the angle, the more effort it takes. The spine is no different. Even a slight tilt forwards or backwards makes the back muscles work without a break. Rock gently forward and back and stop where it is easiest to stay.
Hands
What matters most about the hands is that the shoulders do not rise and the chest stays open. Beyond that, choose whatever feels comfortable. You can rest your palms face down on your knees. You can place one palm on the other in front of your belly: it does not matter which one is on top. Palms facing up on the knees open the chest more, but beginners often find this position uncomfortable.
In pictures of yogis, the palms do not face the sky in order to “receive energy”. Turning them this way simply rotates the shoulder joints outwards and straightens the upper back. The choice can depend even on small things: in slippery trousers your hands slide off your knees, and in a cool room it feels nicer to rest one palm in the other.
Common mistakes
Sitting on a soft cushion It sinks, the pelvis drops and the back rounds. You need firm support.
Sitting cross-legged without a prop The knees hang, there is no pyramid, and you have to hold your back up by force.
Pushing the chest out It feels as if the back is straighter, but in fact the arch in the lower back gets deeper and the lower back tightens.
Not checking the vertical The back is straight but tilted, and the muscles tire within five minutes.
Putting up with numbness If your legs go numb or your knees hurt, change the pose or add height. Changing position is fine, just not every minute: aim for 5 to 10 minutes at the start.
Starting with lotus The pose looks like the symbol of yoga, but for a beginner it is a direct route to a knee injury.
When to be careful
If you have meniscus or ligament injuries in the knee, do not sit in vajrasana without a high support and do not force siddhasana. With varicose veins in the lower legs, sitting on your heels for long periods is not suitable. In these cases you can sit on the edge of a firm chair for a while: feet on the floor hip-width apart, sitting bones on the edge of the seat, back not touching the backrest. The three points of support are still there, and everything else on this page works the same way.
How to sit in everyday life
The best posture training does not happen on the mat. Try sitting without a chair at least now and then: over a cup of tea, at a low table, with a laptop on your knees. The back gradually gets used to being upright, the hip joints become more mobile and stronger at the same time, and after a while sitting on the floor becomes genuinely comfortable. For the time you spend on your feet there is a companion practice from qigong, the Zhan Zhuang standing meditation.
Questions and answers
The goal of the first stage is 10 to 15 minutes without being distracted by your body. Once you can do that, move on to pranayama and meditation in the same pose.
Yes, if the floor is not an option for now. Sit on the edge of a firm chair without leaning back and build your spine the same way, from the bottom up. But keep practising floor sitting with a prop alongside it.
The height at which your knees rest on the floor and your lower back neither arches nor rounds. Usually anywhere from 2 or 3 to 10 centimetres.
Most often because of over-straightening: the chest is pushed out and the lower back arches more than usual. The other possibility is that the body is tilted away from the vertical. Check both.
For a short rest, yes, but for practice it is better without one. The wall switches off exactly the muscles you need to teach to work.
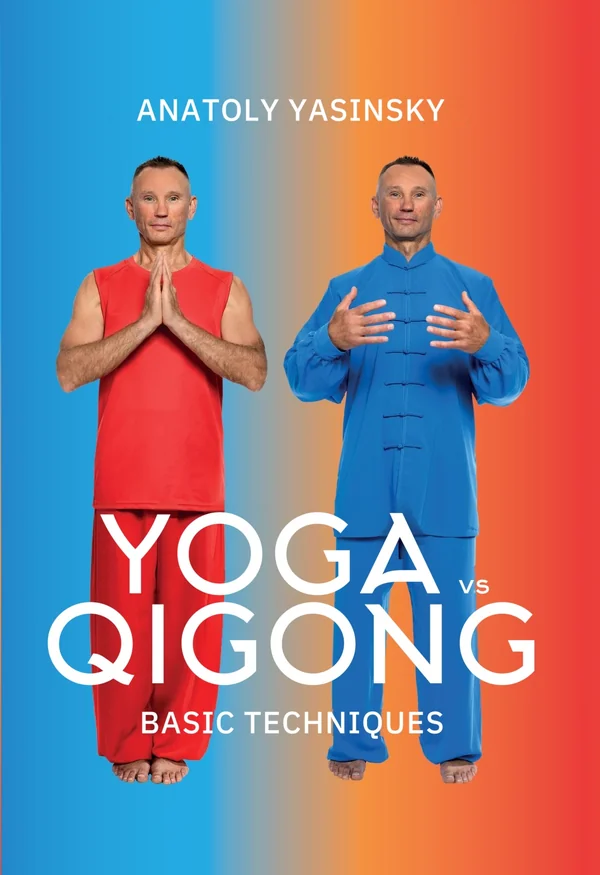
The practice in the book
Sitting posture opens the practical part of “Yoga vs Qigong: Basic Techniques”, because the chapters that follow build on it: pranayama, meditation and, as the standing version, Zhan Zhuang. The book also has a theoretical chapter on the mechanics of a straight spine, which explains why all of this works the way it does. The book is available in English, Bulgarian and Russian, as a PDF e-book and as an audiobook.
More practices from the book