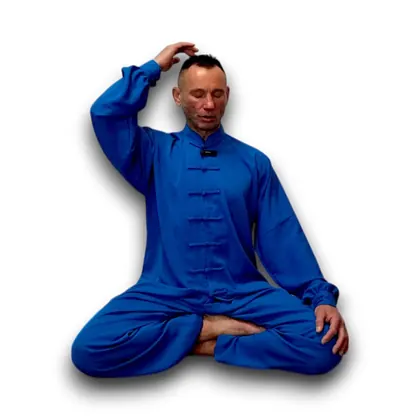
The 5 Tibetan Rites (Eye of Revelation): A Sequence in Three Levels
Five exercises, 15-20 minutes, no equipment except a mat. The 5 Tibetan Rites, also known as the Five Tibetans or, after the title of the original book, the “Eye of Revelation”, are one of the most convenient daily routines for the back and the core. On this page I show how to learn the sequence step by step, from the gentlest version to the full one, how to structure a session and which mistakes to avoid. The version of the sequence comes from my book “Yoga vs Qigong: Basic Techniques”, and in the video lesson on this page I demonstrate all the exercises.
Audio & subtitles: EN · BG · RU (⚙ in the player)
The sequence in brief
The sequence became widely known in 1939, when a small book called The Eye of Revelation came out in the USA under the name of Peter Kelder. That is where the literal name “Eye of Revelation” comes from, while “Oko Vozrozhdeniya” (“Eye of Rebirth”) is the title of a Russian translation from the 1990s. The book presented the exercises as secret rituals of Tibetan lamas, but in essence they are hatha yoga asanas, known from Indian sources even before Kelder’s book appeared.
My version has five exercises:
- Standing torso twists.
- Lying leg raises (on your back).
- Kneeling backbends.
- “Four-legged table”.
- “Downward-facing dog” and “upward-facing dog”.
The first exercise differs from the original. In Kelder’s book it is fast spinning on the spot, which makes you dizzy, whereas I use the qigong torso twists called “Opening the Gate”. I explain why below.
What each exercise does
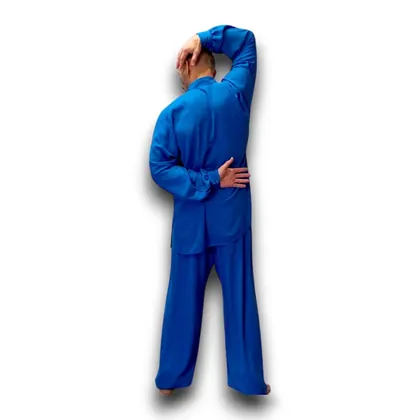
The torso twists warm up the body and gently twist the spine. They work the sides of the torso, which get little attention in the other four exercises. Meanwhile the hands pat the lower back and sides, giving you a light self-massage.
The leg raises strengthen the abdominal muscles and teach you to keep the lower back pressed to the floor, that is, to stabilise the lower back under load.
The kneeling backbends open the chest and mobilise the thoracic spine, which for most people is the stiffest part of the back.
The “table” strengthens the glutes, the hamstrings and the lower back muscles. If your lower back aches from desk work, this is often the most useful exercise in the sequence.
The “dog” is the strength part: the arms and shoulders work, the backs of the legs stretch, and the upward bend opens the chest again.
Together, the Five Tibetan Rites give a balanced load to the front, back and sides of the torso. On top of that, they train the blood vessels; more on this a little further down.
Level 1: a gentle start
Everyone should start at this level, even people who are fit and sporty: the body needs to warm up and the movements need to become familiar.
Torso twists Feet hip-width apart, knees soft. Swing the torso left and right with a small range of motion, arms hanging loose. Breathe out on each turn; the inhale happens by itself. 2-3 minutes.
Leg raises Lying on your back, press the lower back into the mat, breathe in, hold the breath and raise one leg. Lower it, breathe out, relax for a second. 5 times with each leg.
Kneeling backbends Palms on the buttocks. As you breathe in, bend back slightly; as you breathe out, drop the head and round the back. 5-10 times, with a small range.
Glute bridge instead of the “table” Lying on your back with your knees bent, breathe in, hold the breath and raise the pelvis, stay up for 1-2 seconds, then lower down as you breathe out. 5-10 times.
“Dog” with the knees down From all fours, raise the pelvis as you breathe in, keeping the knees bent and letting the head hang. As you breathe out, lower your belly towards the mat, resting on your knees, and bend back gently to open the chest. 5 times.
Level 2: the main workload
Move on to this level when the first one feels effortless and your breathing stays even.
Twists After 15-20 calm twists you can increase the range. The impulse comes from the legs, the spine turns evenly from the lower back to the neck, and the eyes look over the shoulder. About 5 minutes.
Leg raises Both legs bent, raised until the thighs are vertical, while holding the breath. 5-10 times.
Backbends Deeper, but the bend still comes from the chest, not the lower back. 10-15 times.
“Table” with hand support Sit with your knees bent and your palms on the floor behind the pelvis. Breathe in, hold the breath and push the torso up as far as you can, ideally to horizontal. 5-10 times.
“Dog” In downward dog the knees are almost straight and the heels reach for the floor; in the backbend, try lifting the knees off the mat. 5-10 times.
Level 3: the full sequence
For those who have practised for a long time and have no back problems.
Leg raises with straight legs up to vertical, toes pulled towards you; you can lift the head slightly off the floor without tipping it back. Backbends all the way into Ustrasana (camel pose), with the hands on the ankles, if you can already do it. The full “table”: from sitting with straight legs, the torso rises to horizontal. Classic “dogs” with a transition through plank. Up to 10-20 repetitions. Kelder’s goal is 21 repetitions of each exercise, but the number is not the point here.
At every level the muscles work moderately, at about 50-60% of their maximum. Hold each pose for no more than a couple of seconds: this is a dynamic sequence.
How to structure a session
Between the floor exercises, get up on your feet and take three deep breaths: in through the nose, out through the mouth with a sound. Stand up calmly. Moving from the floor to upright and back trains the blood vessels: when you stand up, blood pressure drops briefly, and the body learns to level it out quickly. Doctors use this same transition as a test, known as the orthostatic test.
After each repetition, give your body 1-2 seconds of complete relaxation. This is a skill in its own right, and it pays off far beyond the mat: the faster your body lets go of tension after effort, the better you manage your strength.
Watch your pulse. As a guide, it should rise no more than 30-40% above your resting heart rate. If it climbs higher, slow down.
Finish in child’s pose: sit back on your heels, lower your chest onto your thighs, and place your arms forward or alongside your body. Stay there until your breathing and heart rate are back to normal.
The best time is in the morning, after you wake up, and not on a full stomach. With all the transitions, a session takes 15-20 minutes.
A sample plan for the first month
Week one level 1 only, 5 repetitions each.
Week two level 1, 8-10 repetitions.
Week three move to level 2 in the exercises that come easily and keep the rest at level 1.
Week four level 2 in all exercises, 5-10 repetitions each.
You can keep each exercise at its own level for as long as you like. Five calm repetitions every day are better than twenty forced ones once a week.
Common mistakes
The lower back lifts off the floor during leg raises The load moves from the abs into the lower back. Go back to an easier level: one leg or bent knees.
Bending from the lower back instead of the chest In the kneeling backbends and in upward dog, the lower back kinks while the chest stays still. Think about lifting the breastbone rather than throwing the head back.
Throwing the neck back In all backbends the neck continues the line of the spine, with the gaze slightly upward.
Full-range twists from the first minute Increase the range only after warming up.
Straining while holding the breath The hold is short and lasts only as long as the lift. Your face should not go red and your breathing should not break.
Getting up from the floor abruptly Sit up first, then stand, otherwise your vision may go dark.
Chasing heels on the floor in downward dog That will come with time. For now, a straight back matters more.
Precautions
With herniated or bulging discs, and in older age, replace the standing twists with gentle lying twists and consult your doctor. With high blood pressure, do the leg raises and the “table” without holding the breath: holding the breath while tensing the abdomen raises blood pressure. With high or low blood pressure, get up from the floor especially slowly. If an exercise causes sharp pain, skip it or take an easier level.
Why there are no vortices here
Kelder explained the benefits of the sequence by the spinning of invisible vortices in the body, which supposedly slow down with age, and insisted that you must spin strictly clockwise. At the same time he referred to the dance of the dervishes, who in fact spin anticlockwise. Anatomy knows nothing of such vortices.
Physiology, on the other hand, explains well why the sequence works: core muscles on every side, a mobile thoracic spine, vascular training through changes of position, the breathing muscles. That is the real “rebirth” that regular practice gives you. In the book I write in more detail about the history of the sequence and how hatha yoga asanas found their way into it.
Questions and answers
Morning is better: the sequence wakes you up and warms you up. Evening is fine too, but at least a couple of hours before bed and not straight after dinner.
Most people notice that their back becomes more mobile within two to three weeks of daily practice. Core strength grows more slowly, over months.
Not on their own: this is not a cardio workout. The sequence strengthens the muscles and improves posture, but for weight loss you additionally need the right diet and overall activity.
Yes. For example, the “Eye of Revelation” in the morning and, at another time of day, a short Zhan Zhuang stance or the Yi Jin Jing routine. The torso twists come from qigong anyway.
It means your lower back is lifting off the floor. Go back to raising one leg at a time and keep the lower back pressed down the whole time.
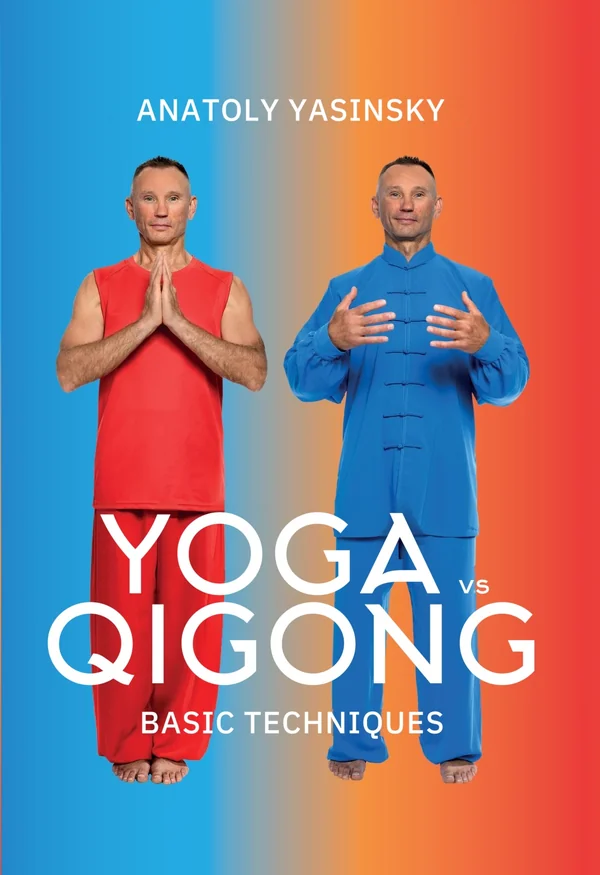
The practice in the book
In “Yoga vs Qigong: Basic Techniques”, every exercise of the sequence is shown in photos at every level of difficulty, with a breakdown of the breathing for experienced practitioners and the story of how Indian asanas became “Tibetan rites”. The book is available in English, Bulgarian and Russian, as a PDF e-book and as an audiobook.
More practices from the book